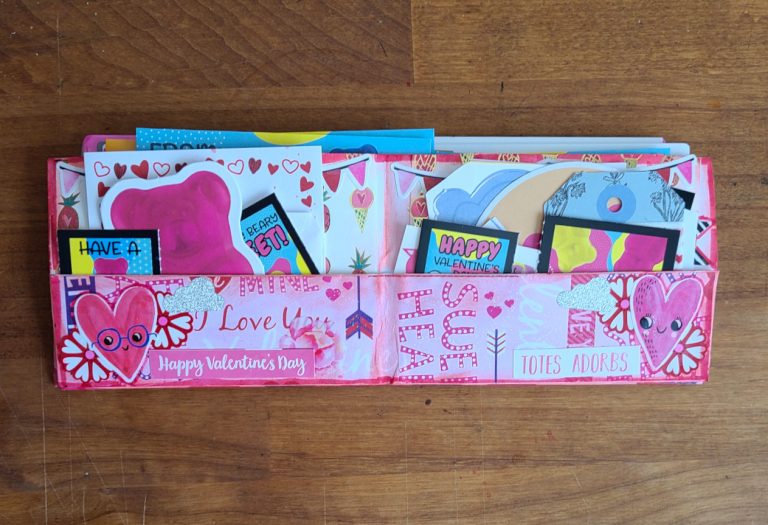
Now that we are rolling into the season of love, I thought this would be the perfect project to share and help inspire you to send a little love your penpal’s way. I was on YouTube (as I usually am) when I came across a video by Vivian at “The Paper Letter Blog” where she made a flipbook style wallet for one of her penpals/subscribers. I began to think about all the wallets that I had used before I started carrying the purse I have now. That was when I remembered the “dad style” wallet that I used throughout college, and decided to find a way to re-create that. After re-watching several origami wallet videos I finally found one that was easy enough for me to figure out but still exactly what I wanted.
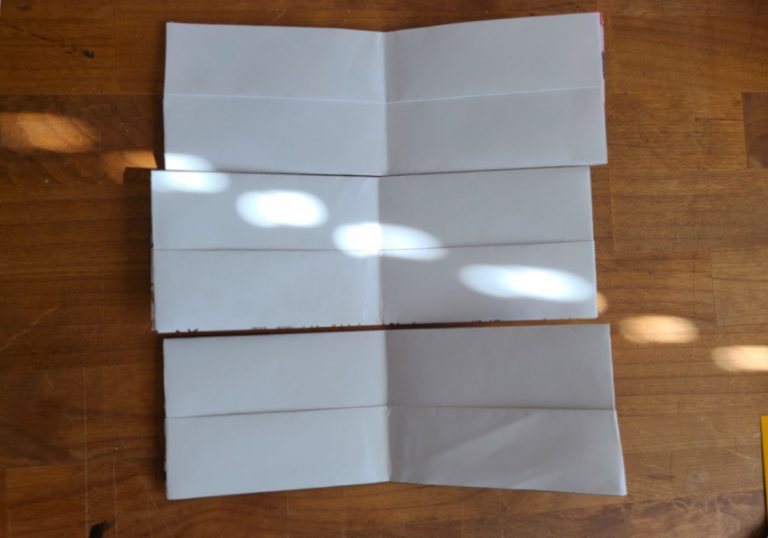
The one requirement I had for this project was that it would be able to fit a sheet of Hallmark stickers (still in its packaging) comfortably, because of that I increased the size of the paper by one inch…Also because the largest sheet of paper I had was 12×12 scrapbooking paper.
Paper Measurements
Original Video: 8.5″ x 11″(standard US letter size)/ 21.59cm x 27.94cm
My Measurements: 9.5″x 12″/ 24.13cm x 30.48cm
I found that upping the measurements by 1″ fit my stickers perfectly, but feel free to increase or decrease your measurements to fit the project your making.
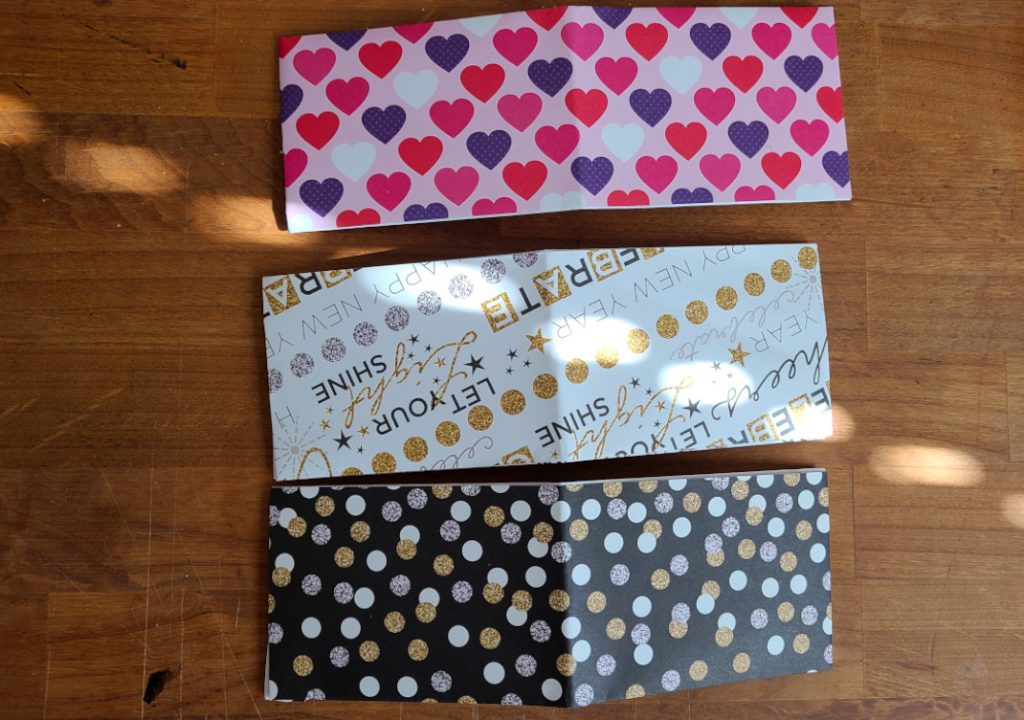
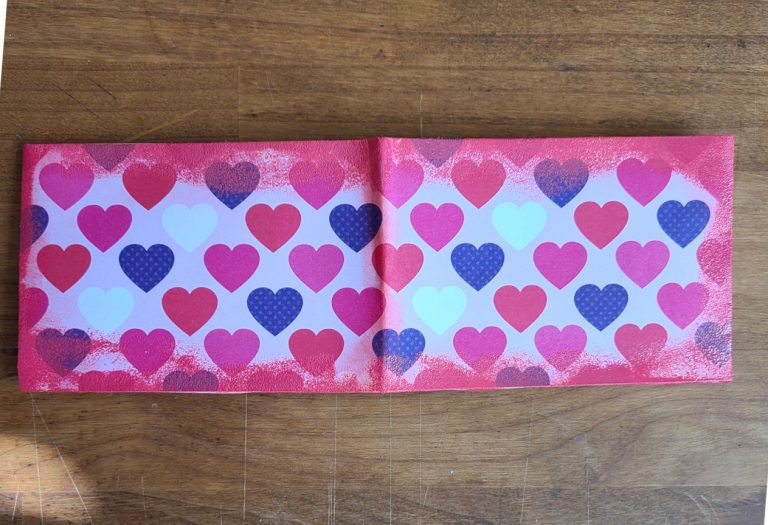
The main two mistakes I ran into after making a few of these wallets has to do with not folding them properly and having uneven edges where the wallet expanded. Another thing to keep in mind if you are using pattern paper is what direction the patterns needs to follow if it is not a consistent design. I made that mistake with the heart pattern wallet I used to make this mail, although I don’t think its noticeable once its completed.
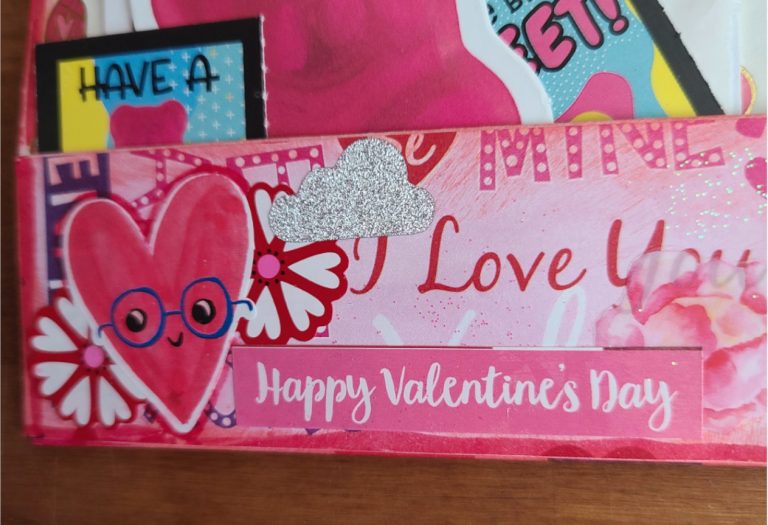
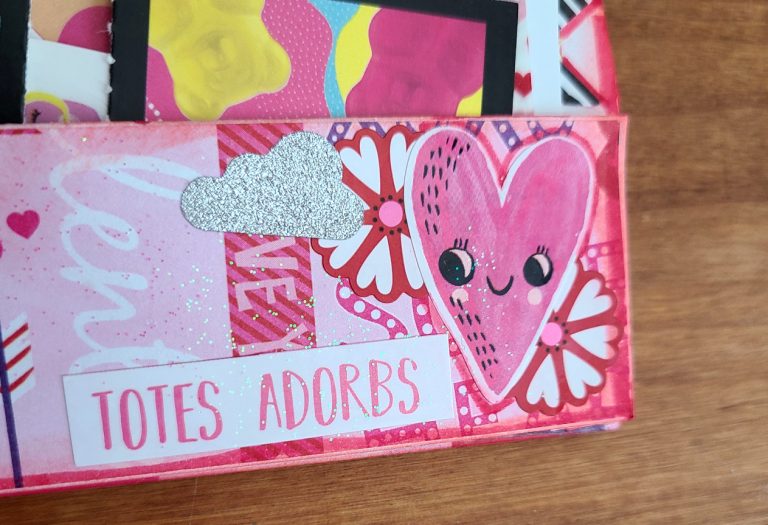
After realizing that I had made my wallet with the heart pattern upside down, I decided to break out my new embossing kit to try and distract from that little mistake. I think it really ties the card together!
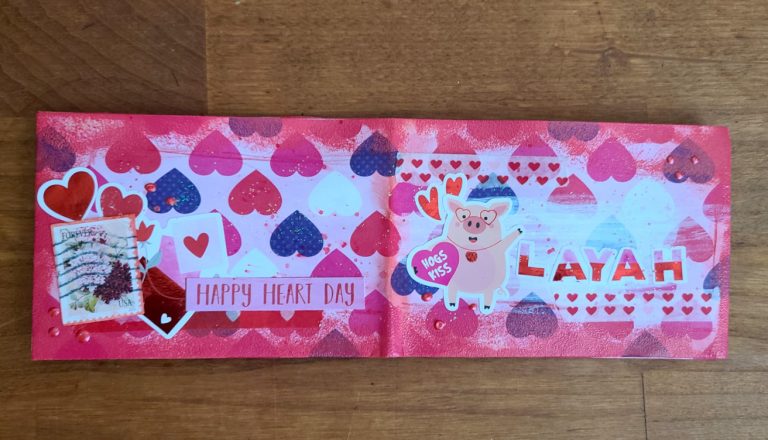
Unfortunately, I forgot to take pictures throughout the whole process but you can see it all come together on my YouTube channel. I used new and old things from my stash. Some of my favorites being the cute pig sticker, alphas and a stamp that was on a mail my best friend sent me many years ago. You can’t tell in the pictures but I also applied a light coat of glitter glue to the whole project to give it a subtle sparkle. I also used the last of my glitter clouds from my very first Pipsticks pack!
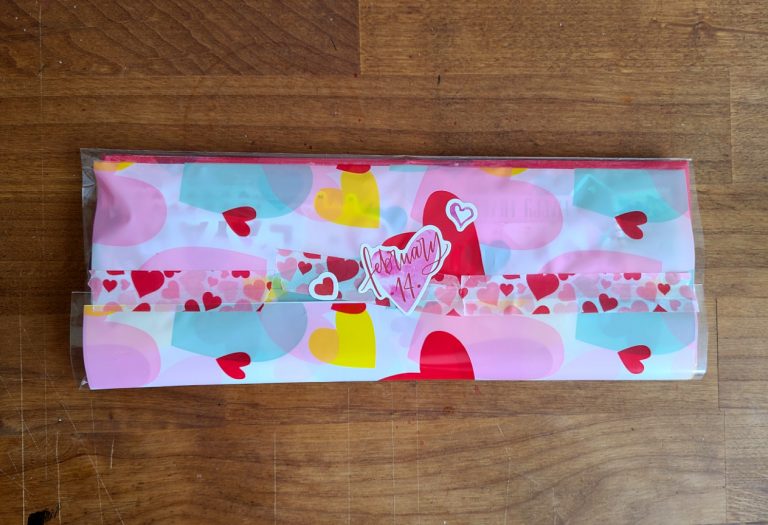
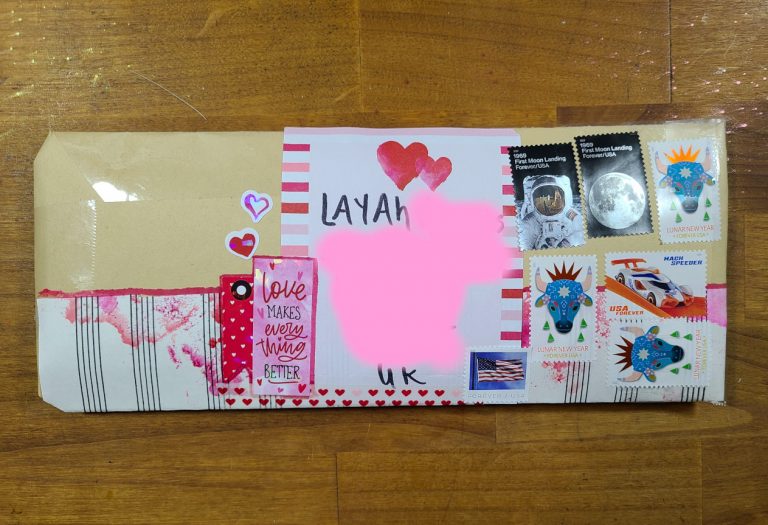
I didn’t show this on camera, but I used a treat bag from my stash to wrap the mail and prevent everything from coming loose from the front pockets. I made a simple envelope out of craft paper and used packing tape around all four sides.
Thank you for reading! If you have any questions about this project feel free to leave a comment on this post or the corresponding video and I will get back to you soon! If you decide to also make your own happy mail wallets I would love to see how they come out! Tag me or use #Craftyjournalnet